Ask anyone with limp or lifeless hair about their battle for volume, and you’ll get a saga for the ages. Promises of Texas-big hair and “just slept on a cloud” bounce? Let’s just say more than a few products out there have faked us out. Mousse, though, deserves a spot in the real-deal volumizing hall of fame—if you actually know how to use it.
Forget crunchy ’80s hair, sticky roots, or that helmet-hair finish. The new mousse is airy, modern, and surprisingly forgiving. In the hands of pro stylists, it’s their top trick for turn-the-head volume with zero residue.
This post may contain affiliate links, which means I’ll receive a commission if you purchase through my links, at no extra cost to you. Please read full disclosure for more information.
Here’s your go-to guide, straight from the people who style real hair for real life (not just magazine covers).
How Professional Stylists Use Mousse vs. Other Volumizers

Mousse runs in the same circles as volumizing sprays, powders, and gels, but they absolutely don’t work the same way. Ask anyone backstage at a runway show: mousse gives unique, flexible lift, and you get the most mileage on hair that doesn’t want to hold a style.
Sprays coat the surface. Powders add grit at the roots and crank up the grip. Gels offer hold but can weigh hair down or turn crunchy.
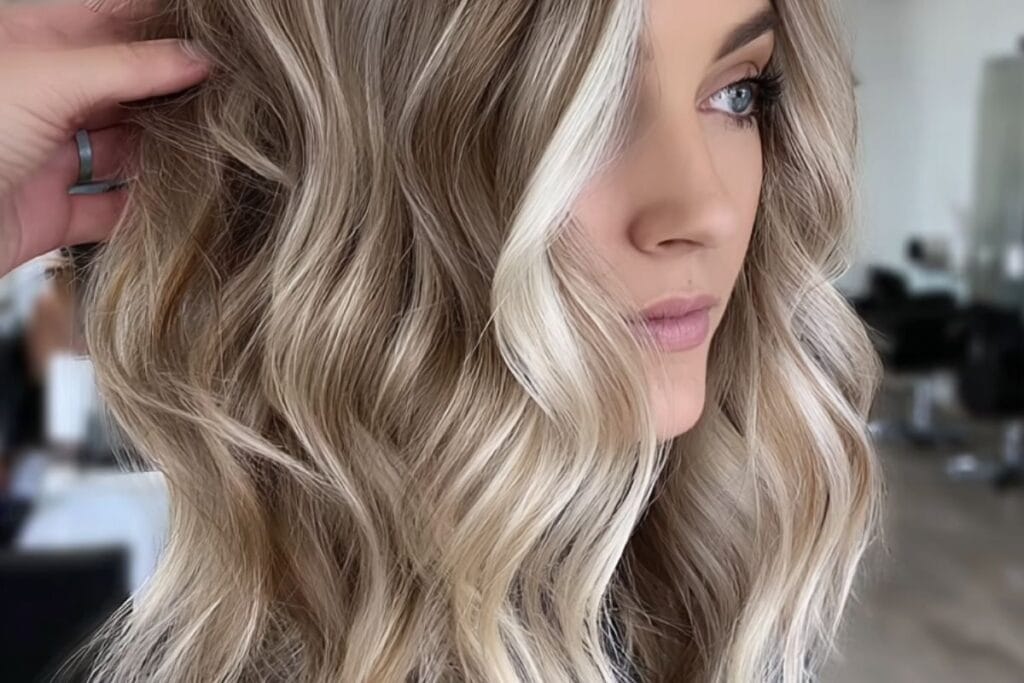
Mousse is different. It swells each strand for bigger, fuller hair that’s still silky. The foam melts right in, moving with your fingers as you style. On fine, flat, or oily-prone hair, mousse keeps things light. For curls or natural texture, it adds soft structure and life. You’ll see pros pick mousse for:
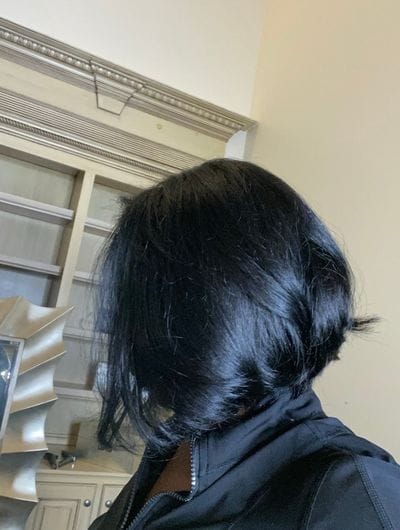
- Blowing out fine or baby-soft hair
- Prepping short styles for tousled volume
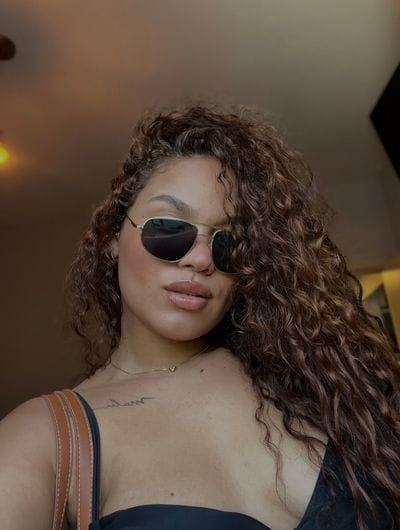
- Defining natural curls without stiffness
Mousse is like whipped cream for your hair: it’s airy, easy to layer, and makes everything more delicious.
Choosing the Right Mousse for Your Hair Type
Don’t play roulette and grab the first can you see. The right mousse needs to match your hair just like the right jeans need to fit your body. There’s a world of difference between formulas meant for fine, medium, and thick hair.
- Fine/Limp Hair: Go for featherweight formulas labeled “volumizing” or “amplifying.” Look for phrases like “weightless,” “boost,” or “plumping.”
- Medium Hair: You’ve got options. Stick to classic mousses that promise body and “touchable hold.”
- Thick/Coarse Hair: Choose a mousse with strong hold, but make sure it’s non-sticky. Look for moisturizing ingredients like panthenol or oils to keep texture soft.
Our product pick: If you want a trusted all-around option, stylists rave about Amika Plus Size Perfect Body Mousse. It thickens without residue, works on every texture, and gives that bouncy, salon feel. The scent is basically happiness, too.
Prepping Damp Hair for Maximum Lift

Here’s a pro move: mousse works best on fresh, damp hair. Sounds simple, but skipping these little steps can wreck your big finish.
- Towel-dry right: Rough handling is not the vibe. Pat your hair dry so it’s just barely dripping (think “steamy mirror, not soaking wet”).
- Detangle gently: Run a wide-tooth comb or your fingers through knots. No yanking. Trust, your volume starts here.
- Heat protection: If you’re about to hit your hair with a dryer or round brush, shield those strands. Pros know heat styling without protection is asking for crunch, not volume.
Our favorite: Try Redken One United. It’s light, won’t weigh hair down, and sneaks in some bonus moisture while protecting from blow-dry heat.
Now your hair is ready to level up.
The Perfect Application Technique
Have you ever gone ham on a handful of mousse, smashed it into your hair, and wondered why you look like an ’80s pop video extra? Right—let’s fix that.
- Shake the can well: You want a fluffy foam, not watery suds.
- Use a golf ball-sized puff (quarter for short hair, ping-pong ball for longer widths): Less is more; you can always add.
- Work from root to tip: Start at the scalp. Massage mousse gently into your roots first, then smooth lightly through lengths. Roots need oomph; ends just need a whisper.
- Comb or finger-distribute: Use a wide-tooth comb or your fingers. This spreads mousse evenly so no section hogs all the lift.
- For very fine or limp hair: Layer on a pea-sized extra at the roots before blow-drying.
The key – don’t crush the foam while applying. If it helps, imagine you’re handling cashmere, not scrubbing a pan.
Blow-Drying & Locking Volume In

The dryer is where the magic happens. You need heat, airflow, and a quick wrist. Remember, air-drying will keep things touchable, but you’ll miss out on sky-high impact.
- Round brush for lifting & straightening: Lift sections up and out, rolling hair around a medium round brush as you dry. The more tension you create, the bigger the lift.
- Cool shot to set: Finish with the “cold” button. It helps your hair “memorize” its shape, so all that work won’t fall flat by lunch.
- Loose beach waves: Go ahead and finish styling with a curling iron, if you’re going for beach waves look.
- Use a diffuser for curls: Want your natural curls but more defined? Blowdry using a diffuser. This adds oomph without blasting out your natural pattern.
Whichever method you choose, section hair and dry in layers, always blowing up from the scalp.
Finishing Steps
No one likes crunchy ends or a sticky crown. Here’s how pros keep styles touchable and full, with real movement.
- Let your style cool: Give it a minute post-blow-dry.
- Optional: Flip and “shake out” roots: Rake your fingers at the scalp to add bounce.
- Light finishing: Instead of stiff-hold hair sprays, try a texturizer or flexible mist.
Our fave: Kenra Platinum Dry Texture Spray is a secret weapon. It adds a lived-in, effortless vibe without stickiness. Spray it lightly at roots and mid-lengths for instant “pretty girl energy.”