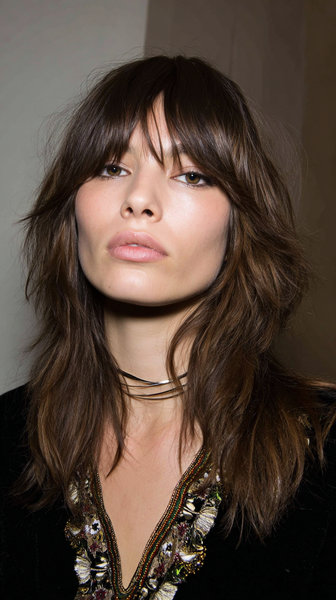
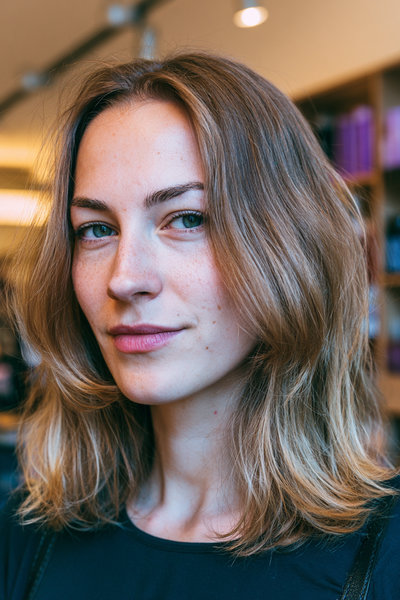
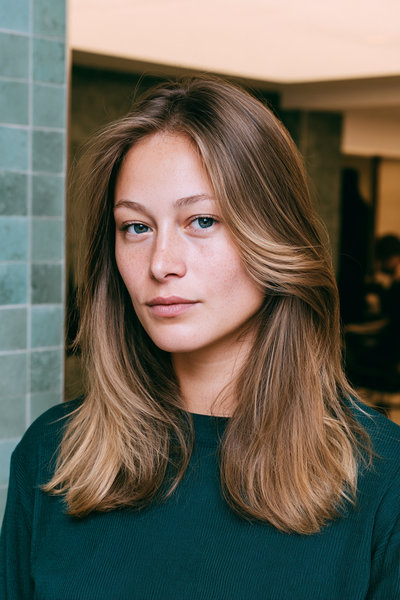
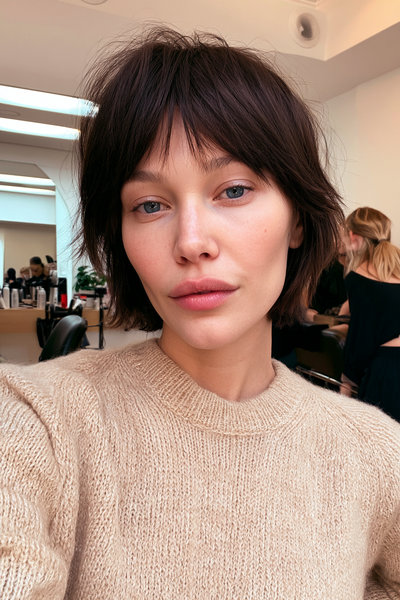
Honestly, face framing layers are the thing I reach for more than anything else. A client sits down, says her face looks tired, and nine times out of ten the answer is not a color or a treatment. It is a few well-placed layers that pull attention exactly where it should go. I have been cutting curtain bangs and wolf cuts on medium hair for years and I still get excited every single time.
Medium length is the sweet spot for this. Long enough to work with, short enough that the layers actually do something visible.
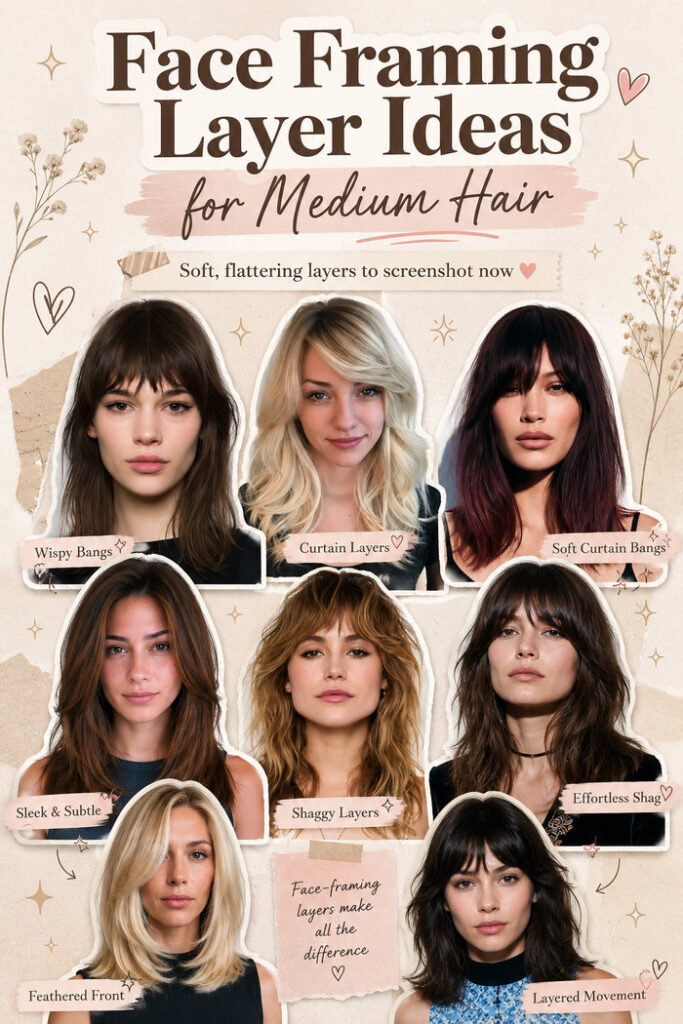
Face Framing Layering Techniques for Medium Length Hair
There are a few core techniques your stylist will use to create face framing layers. The method matters as much as the style itself.
- Point cutting – scissors go in at an angle at the tips to create soft, wispy ends that move naturally
- Razor cutting – a razor blade replaces scissors for ultra-feathered ends with less weight, great for fine hair
- Internal layering – layers cut underneath the surface to remove bulk without changing the outer shape
- Graduation – length increases smoothly from front to back with no visible steps or jumps
- Curl by curl cutting – each section shaped individually on dry hair, mostly used for wavy and curly types
- Blunt sectioning – front pieces cut straight across to create a defined, structured frame around the face
The technique your stylist picks depends on your hair type, thickness, and the specific style you are going for. Razor cutting and point cutting are the most common on medium hair. If you have thick hair, internal layering is worth asking about specifically.
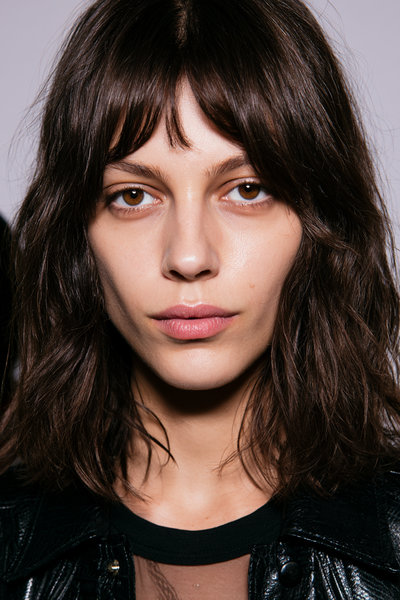
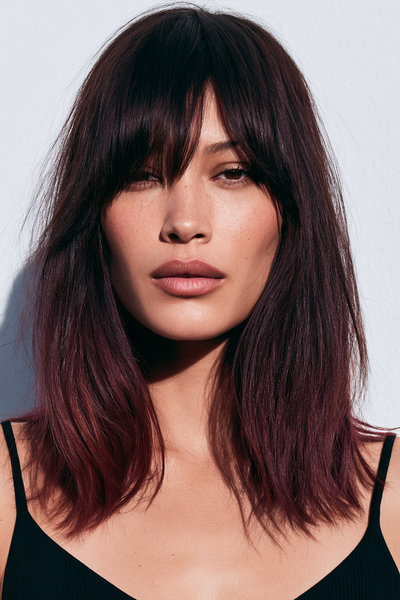
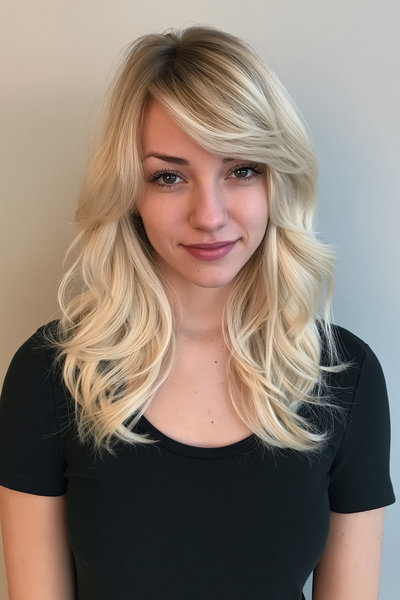
Curtain Bangs That Softly Part the Scene
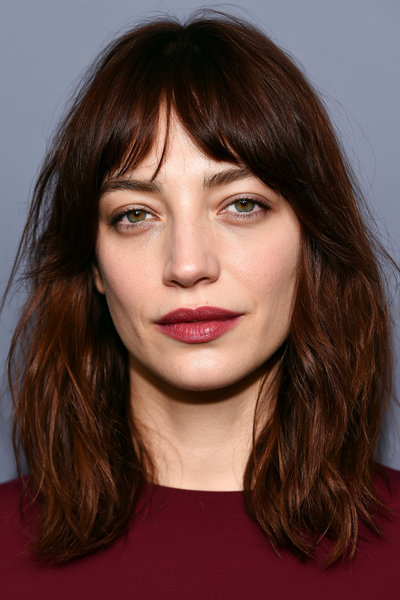
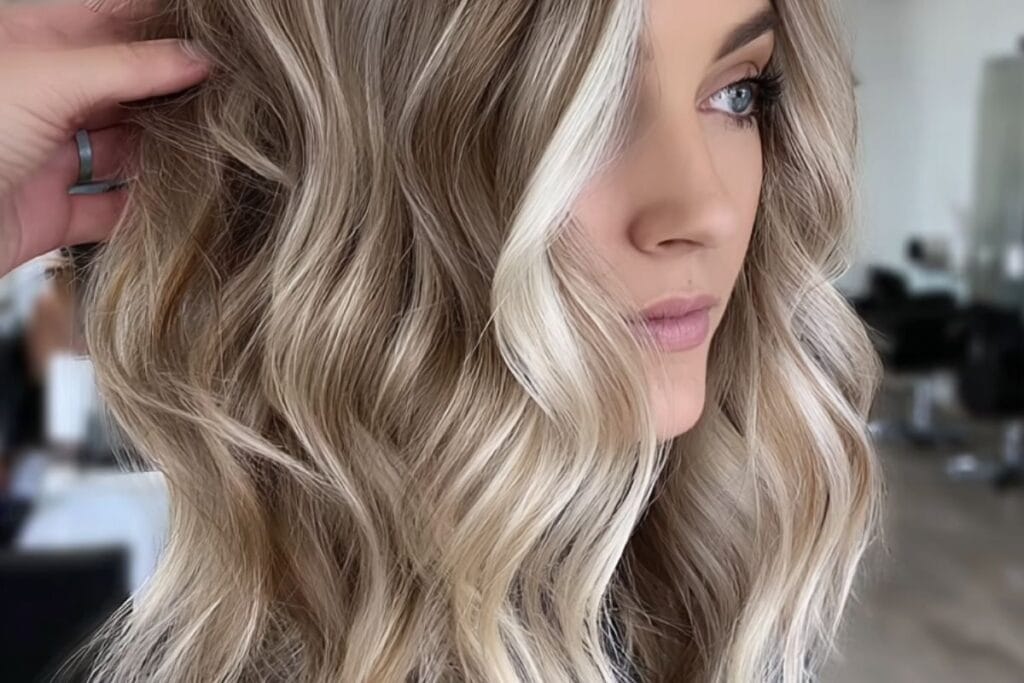
Curtain bangs are my all time favorite thing to cut on medium length hair. They split down the middle and fall softly on each side of your face. I use a razor or point cutting on the ends so they look feathery, not stiff. They work on straight hair, wavy hair, even hair that has a little texture to it.
The shortest point should sit just above your brow, that is where they look best on most people. Tuck them behind your ear for something clean or leave them loose if you want a relaxed feel. This is one of the easiest styles to grow out if you change your mind, which I always tell my clients upfront.
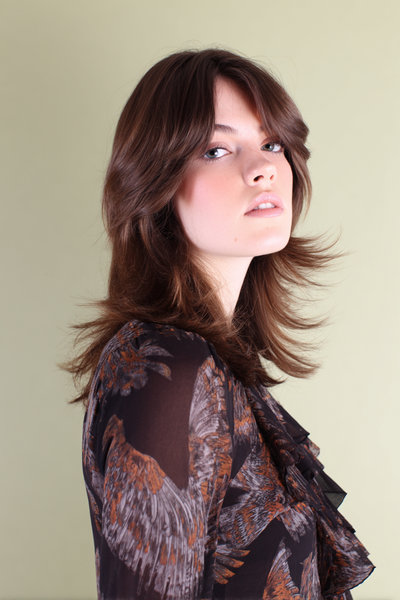
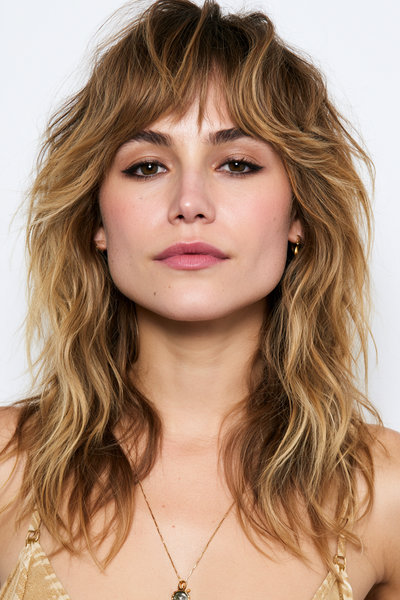
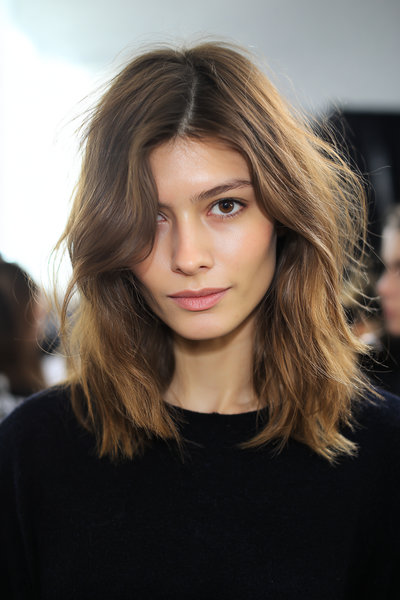
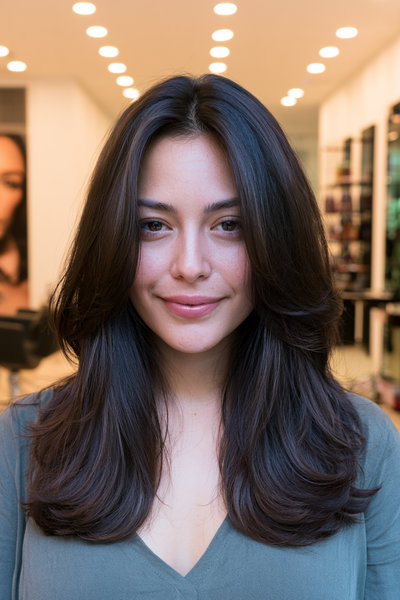
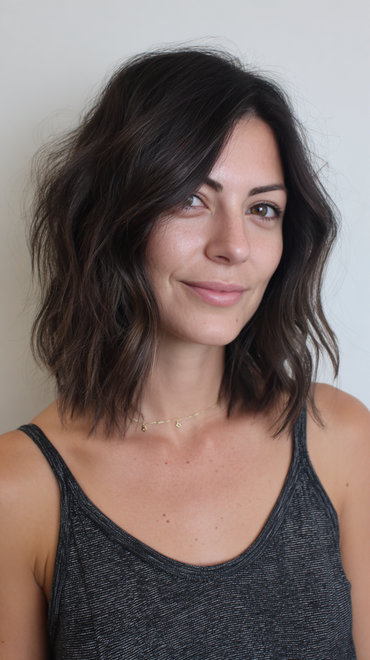
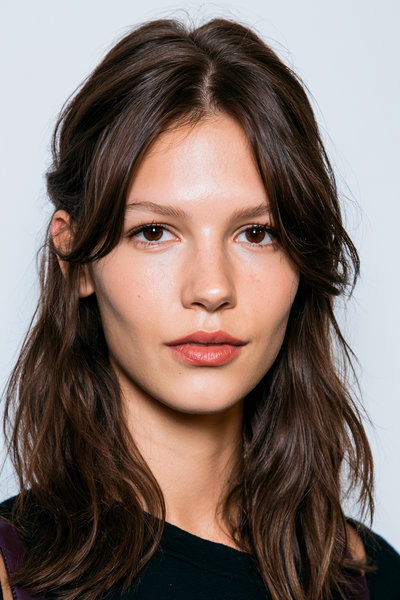
The Wispy Collarbone Layer Cut

The front layers land right around your collarbone and the tips get thinned out so they look almost see through. I use point cutting for that, scissors going in at an angle at the very ends. The back stays longer and fuller, which gives the whole shape real movement.
Waves look incredible in this cut and straight hair does well with a bit of texture spray. The shortest front pieces blend into the longer back ones gradually with no harsh lines. I do this cut a lot and clients almost always come back asking for it again.
Chunky Front Pieces for Bold Cheekbone Definition

I take two thick sections right at the front and cut them separately from everything else. They land somewhere between the chin and the collarbone depending on what the client wants. The ends are blunt or barely textured, which makes them stand out against the softer layers in the back.
Straight hair holds this shape the best because the pieces stay visible and defined. I always work a tiny bit of smoothing cream through those front sections to stop them separating too much. It is a statement cut and you have to be ready to commit to it a little.
Shaggy Vintage-Inspired Layers for Lived-In Texture
Shorter layers sit at the crown and longer ones fan out around the face, it builds a lot of visual texture fast. Everything about this cut is meant to look a little undone, that is the whole appeal. I reach for a razor most of the time to get that fluffy finish at the ends.
Wavy and curly hair shines in a shag because the layers work with natural texture instead of against it. On straight hair a bit of salt spray and scrunching does the job. The layers in a good shag move independently from each other, which is what gives it that alive bouncy quality.
Face-Framing Money Pieces Without the Full Highlight

Money pieces are a color technique, not a haircut, but the face framing effect is the same. The very front sections get lifted several shades lighter and those pieces catch light right next to your face. Brunettes and dark blondes get the most dramatic result but it works across a lot of base colors.
I do these hand painted for a soft blended look or with foils if the client wants sharper contrast. This is a great option for someone who wants framing without changing their cut at all. The grow out is very natural looking compared to highlights all over, which I really appreciate.
The Soft Arc Layer That Follows Your Jawline
The front layers curve downward in a gentle arc that follows your jawline almost exactly. The shortest point sits right at the jawbone and then length increases gradually toward the back. Square face shapes look amazing with this because it softens strong angles without hiding them.
You can blow these layers inward to make the face look narrower or flip them outward to open up the cheekbone area. I use a medium barrel round brush and the whole styling process takes about ten minutes. This cut always grows out gracefully, so upkeep anxiety is basically zero.
Micro Layers Around the Crown for Lift and Volume
Crown layers are shorter sections at the very top of the head, sometimes three or four inches shorter than the rest. Combined with face framing layers at the front you get a two level dimension that looks almost sculpted. Fine hair benefits most because this creates root lift that no product alone can replicate.
I always use lightweight mousse at the roots before blow drying when a client has this cut. Flip your head upside down and direct warm air at the roots until they dry with some lift. For clients with flat fine hair this is honestly often the most transformative thing I have done for them.
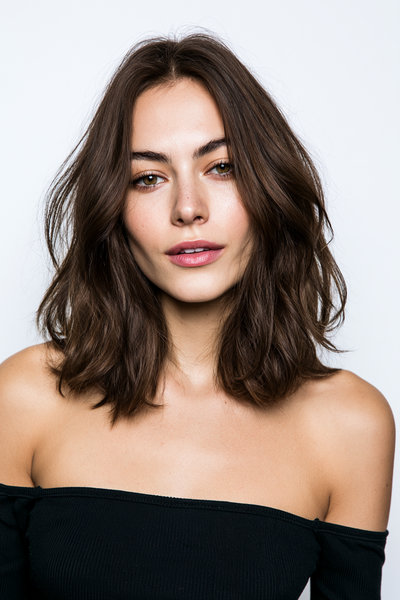
Long, Sweeping Layers That Skim the Shoulders

For hair sitting right at the shoulder I love doing sweeping face framing layers that just barely graze the top of the shoulder. The back stays full and even while the front sections swing forward naturally when worn down. Straight hair is my favorite canvas for this because the smooth surface lets the sweep stay clean.
I sometimes run a flat iron loosely over just the front layers to give them that smooth drape. You go over them gently, not pulling them tight, just enough to encourage the sweep and remove frizz. This style sits right between casual and dressed up without really being either, which I think is its best quality.
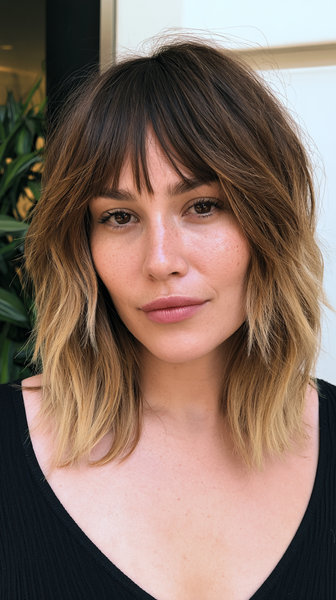
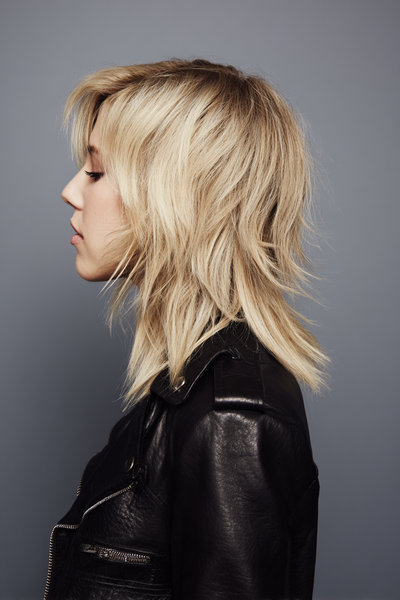
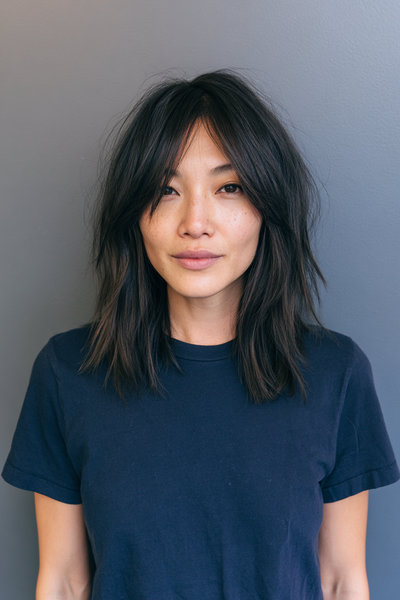
Layered Wolf Cut Meets Face Frame, The Hybrid Everyone Wants
The wolf cut blends a shag and a layered cut into one shape that works on almost every hair type. Heavy crown layers give volume at the top and long wispy face framing pieces fall forward toward the features. I almost always reach for a razor on the ends to get that fluffy voluminous finish.
On curly and wavy hair the crown layers spring upward while the face framing pieces stretch slightly down, and that tension is genuinely beautiful. I always position the temple area shorter and the sides longer to reveal the cheekbones. It is a very adaptable cut and I think it earned its popularity honestly.
Invisible Layers That Add Movement Without Losing Length
Invisible layers are cut underneath the surface of the hair where nobody can see them. From the outside the hair looks full and even in length but underneath there is hidden movement and removed bulk. For thick hair clients who want framing without a visible layer system, this is the answer.
I do this with internal point cutting, working at an angle inside the hair rather than on the surface. When you pull the front sections forward you can see soft variation in length that gives the framing effect. It takes real skill to do well and the payoff is a cut that grows out almost imperceptibly.
Curtain Layers with a Deep Side Part for Drama
A deep side part completely changes the personality of face framing layers. Instead of a symmetrical frame you get one big dramatic sweep across the face. I cut the tucked side shorter so the ear stays visible and leave the other side longer so the curtain effect reads fully.
Blow drying with a large round brush works best here, direct everything toward the heavier side and let volume build there. A tiny bit of light pomade at the root on the shorter side stops the part from closing up. This style reads a little vintage, a little editorial, and it always gets a reaction when a client sees it for the first time.
Butterfly Cut Layers That Open Up Your Face Beautifully
The butterfly cut gets its name from the shape the layers make when hair is parted in the middle and left to fall on its own. Shorter crown layers flare outward like wings and the longer face framing pieces form the lower part of the shape. On medium hair this pushes volume out at the temples and draws the eye straight upward.
I cut the shortest butterfly layers to hit around the chin and then let them step down gradually. Diffusing on medium heat after washing coaxes that big voluminous shape out naturally. This cut widens narrow faces and adds visual length to rounder ones, so it suits a really wide range of people.
Razored Temple Pieces for a Precision Frame
The shortest layers go right at the temples and nowhere else, creating targeted emphasis on the upper face. I use a razor blade instead of scissors to get ultra thin feathered ends that scissors just cannot produce. The temple pieces then blend into slightly longer cheek layers and the graduation feels very deliberate.
Fine hair benefits a lot here because the razor prevents bulk from building up where the layer meets the face. Styling is simple, blow dry and pull those pieces forward with your fingers. I recommend coming back every six to eight weeks because feathered ends need a refresh to stay looking purposeful.
The Effortless Bixie Framing for In-Between Lengths
The bixie sits between a bob and a pixie and face framing layers on this length are a real statement. The shortest pieces sit right at or just below the cheekbone with nothing below the jaw to compete for attention. Everything the cut does is focused on your eyes and cheekbones, which is either exciting or terrifying depending on the person.
Heavy texturizing on the front pieces keeps them moving instead of sitting flat against your face. A smoothing serum gives definition for straight hair and a curl cream gives softness on textured hair. For the right client this is honestly the most transformative cut I offer.
Wavy Face Frames That Let Natural Texture Do the Work
Wavy hair clients are my favorite to cut face framing layers for because the texture does half the work. I always cut wavy hair dry because wet hair lies flat and gives me a completely wrong picture of where the wave actually falls. A curl by curl approach works even better when the pattern is more defined.
The key is cutting the layer at a length where the wave can complete a full S curve, too short and the tip just frizzes. At the right length you get a smooth arc that wraps beautifully around the cheekbone. Microfiber towel dry, scrunch in curl cream, and let them air dry, the layers take care of the rest.
Textured Curtain Layers for Curly Hair Types
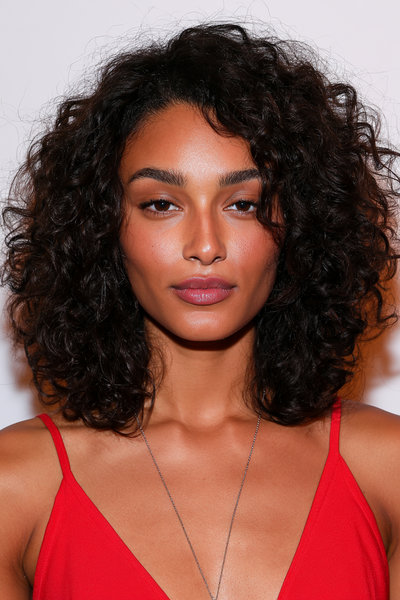
Cutting face framing layers on curly hair requires a completely different mindset. Curl shrinkage can be two or three inches depending on the curl type, so I always cut dry to see exactly where everything falls. The DevaCut method or something similar that works curl by curl is what I use most often.
The finished dry length should sit just above the shoulder, which usually means cutting the wet hair much longer than that. I apply curl cream to the face framing sections while wet and let them air dry into spirals that frame the face in a completely organic way. Nothing about it looks forced, it just looks like great curly hair.
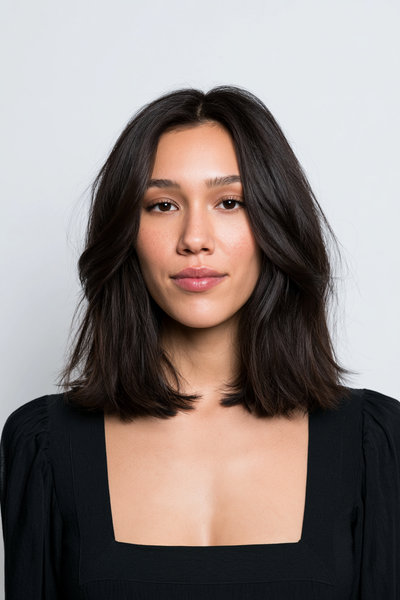
Blunt Face Frame Pieces with a Soft Interior Blend
The front face framing sections are cut bluntly at a set length, usually between the chin and the collarbone. That clean edge makes a strong geometric statement right around the face and photographs really sharply. But the interior is where I do the real work, long soft layers that blend into the blunt frame so nothing looks harsh.
From the front it reads deliberate and structured. Run your fingers through and you feel the softness underneath. Straight and lightly wavy hair holds this shape the longest and it stays looking intentional between cuts better than most heavily textured styles.
Half-Up Friendly Layers That Frame Both Looks
Most face framing layers only work when hair is fully down, which always felt like a limitation to me. I place the framing sections slightly further back than usual, closer to the temples rather than right at the hairline. That small shift means the layers still fall forward even when the back is clipped up.
Medium hair is the best length for this because there is enough to do a real half-up style that looks polished. Add a claw clip at the back and the layers frame your face from both positions without any restyling needed. Clients who wear their hair up a lot are always genuinely relieved when this works for them.
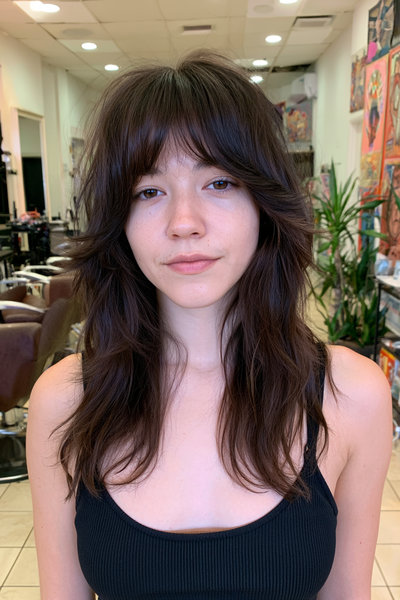
Micro Fringe Layers That Graze the Brow Line
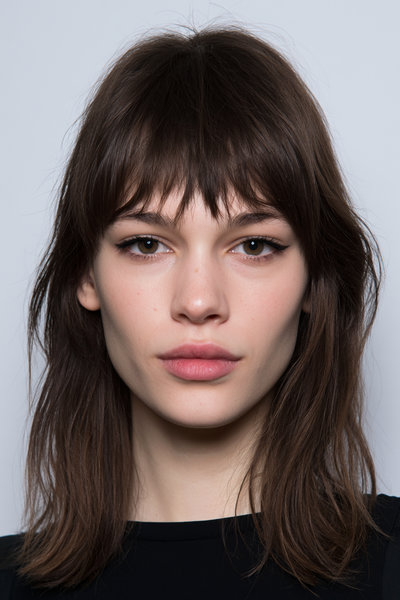
Micro fringe is shorter than curtain bangs and not quite a full fringe, it is its own thing entirely. The pieces start at the hairline and fall just to the top of the eyebrow, very close to the skin. I always point cut the tips so the edge is soft and diffused rather than blunt.
On medium hair the contrast between these short brow pieces and the longer shoulder layers is really striking. Strong foreheads respond especially well because the framing shortens the visual distance between brow and hairline. A quick blast of cool air in the morning is honestly all the styling it needs.
The Crescendo Layer, A Build from Chin to Collarbone
The layers build gradually from chin length at the front to collarbone length at the sides to full length at the back. There are no steps or jumps, just one smooth continuous graduation that flows the whole way around. On medium hair this means every section around the face is participating in the frame, not just the front two pieces.
I use point cutting throughout the entire graduation to keep it completely seamless. In natural light the hair looks like it is wrapping around your features in one continuous arc. Add soft toning or face framing highlights on top of this cut and it becomes one of the most flattering things I know how to do.